Sardoal · Quarto 2 · Build guide

The Guest Room Wardrobe

A built-in wardrobe with a candlelit meditation shrine — linen storage, a guest closet, and an open oak niche that greets your cushion. Everything you need to order the materials and build it, step by step.

181 × 240 × 60cm envelope
3 + 1modules + shrine
≈ €700–1050materials
4–6 daysbuild effort
Photorealistic render of the wardrobe with candlelit shrine niche
The design — oak front, open shrine corner, candlelight.

The design in one minute

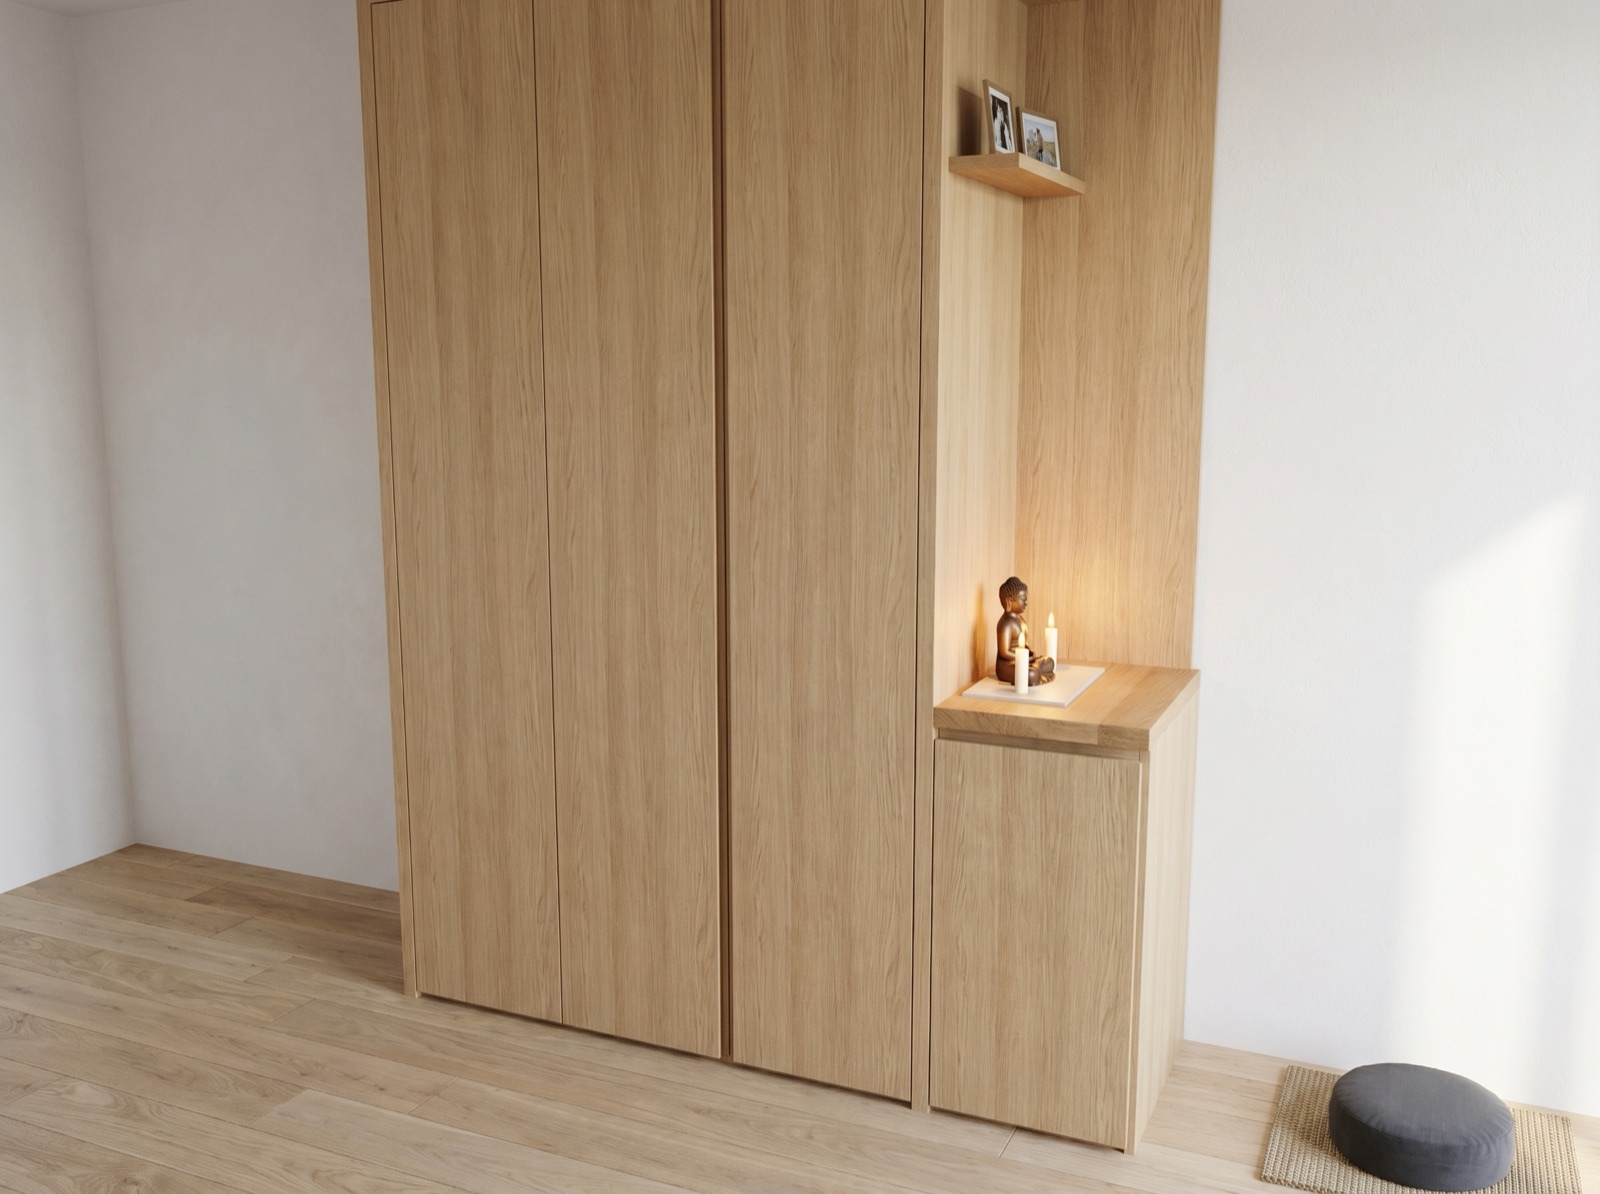
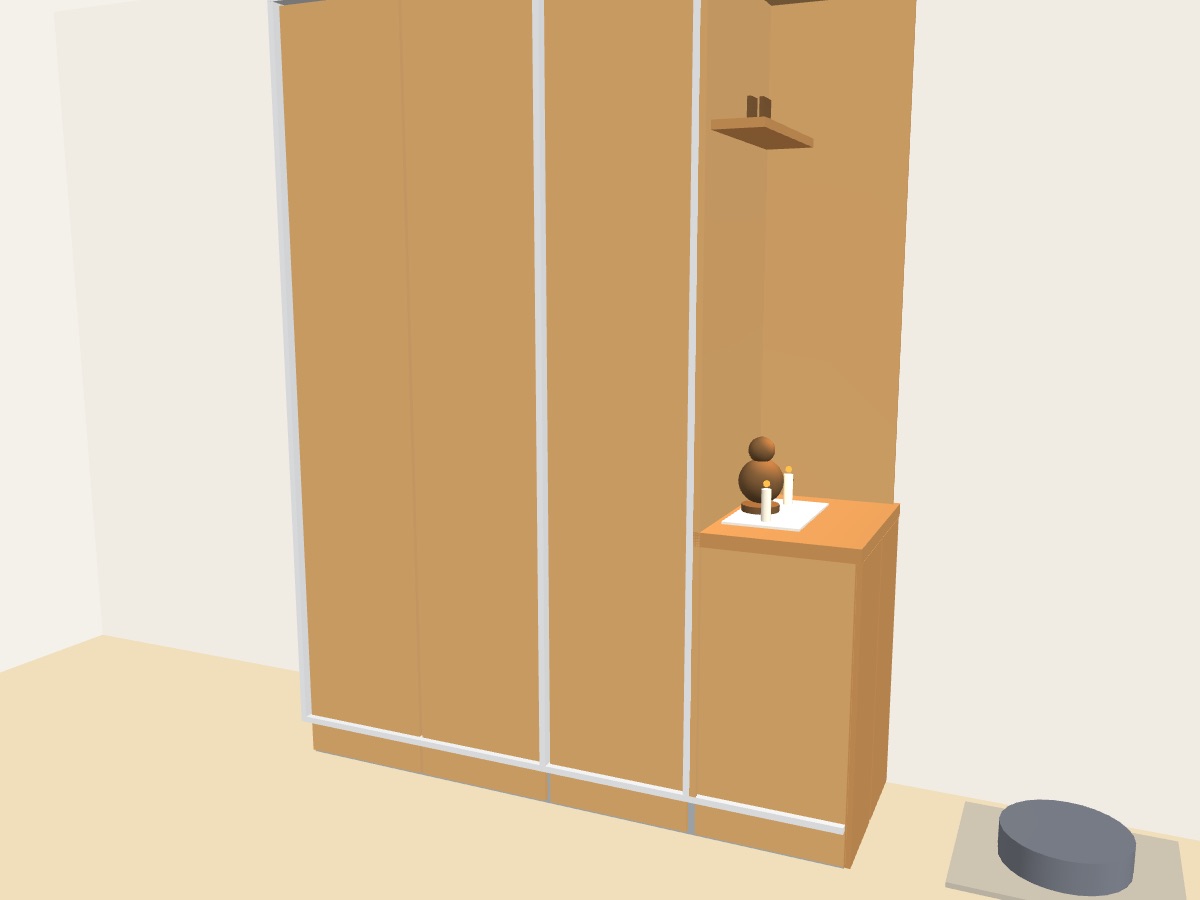
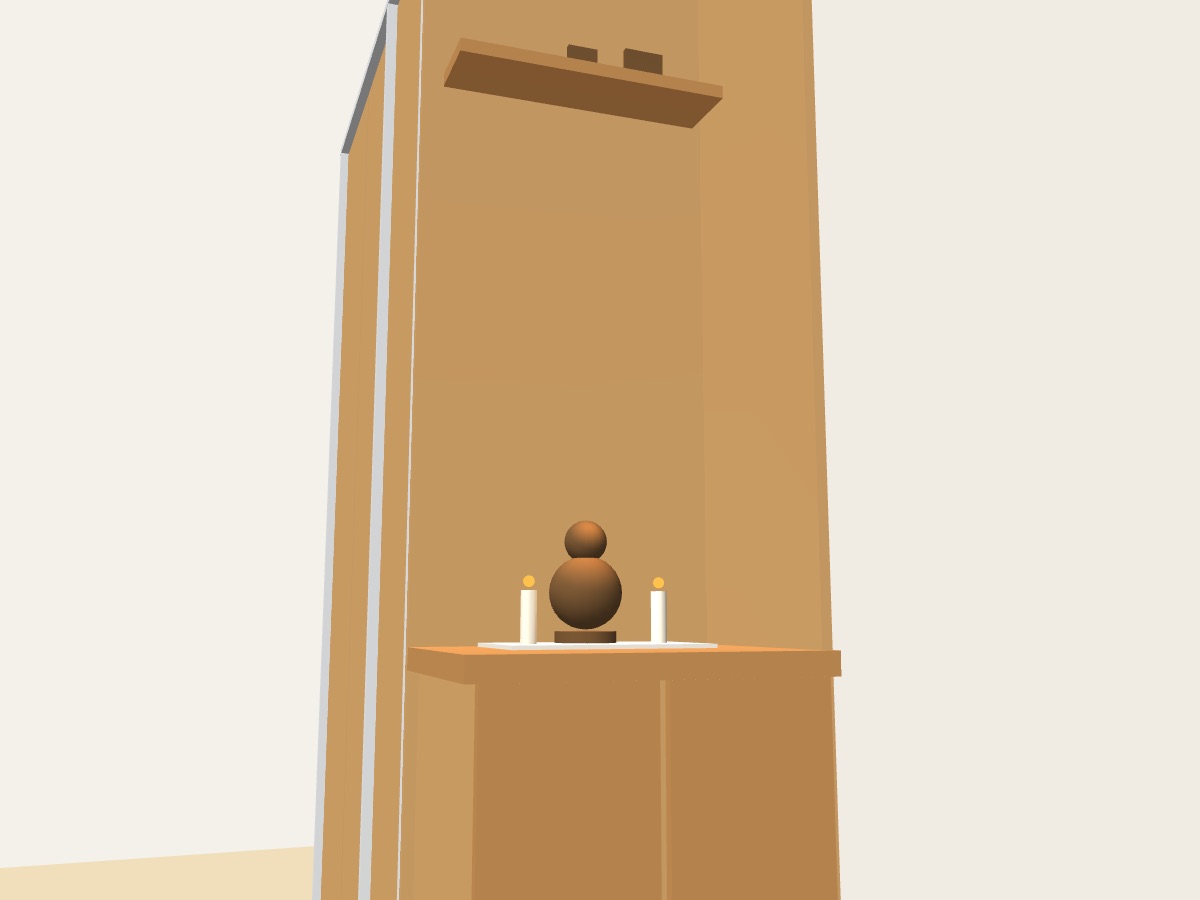
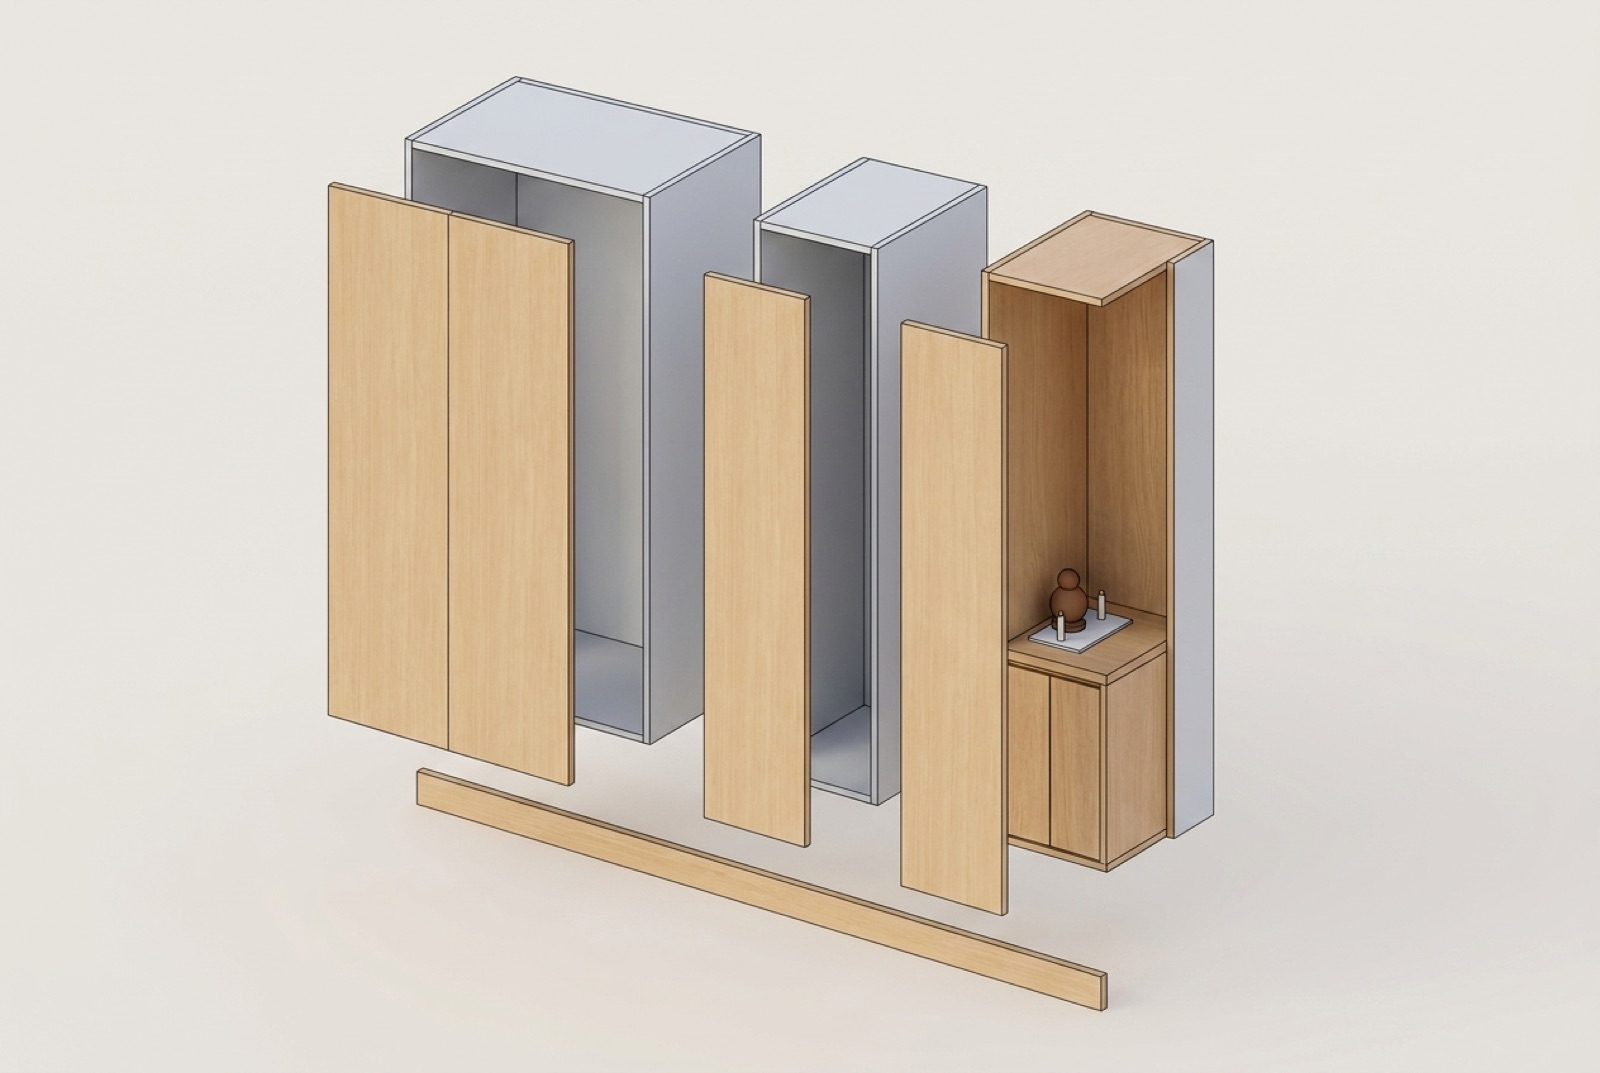
The unit fills the recess on the wardrobe wall of Quarto 2: 1810 mm wide, floor to ceiling (2400 mm), 600 mm deep. From inside the room you see a calm oak façade: two linen doors, one guest-closet door, and at the window end the shrine bay — an open oak-lined niche above a solid oak altar at 90 cm, with a small cabinet underneath that opens toward the meditation cushion. All fronts run floor-to-ceiling — no visible plinth, just a 15 mm shadow line at the floor.

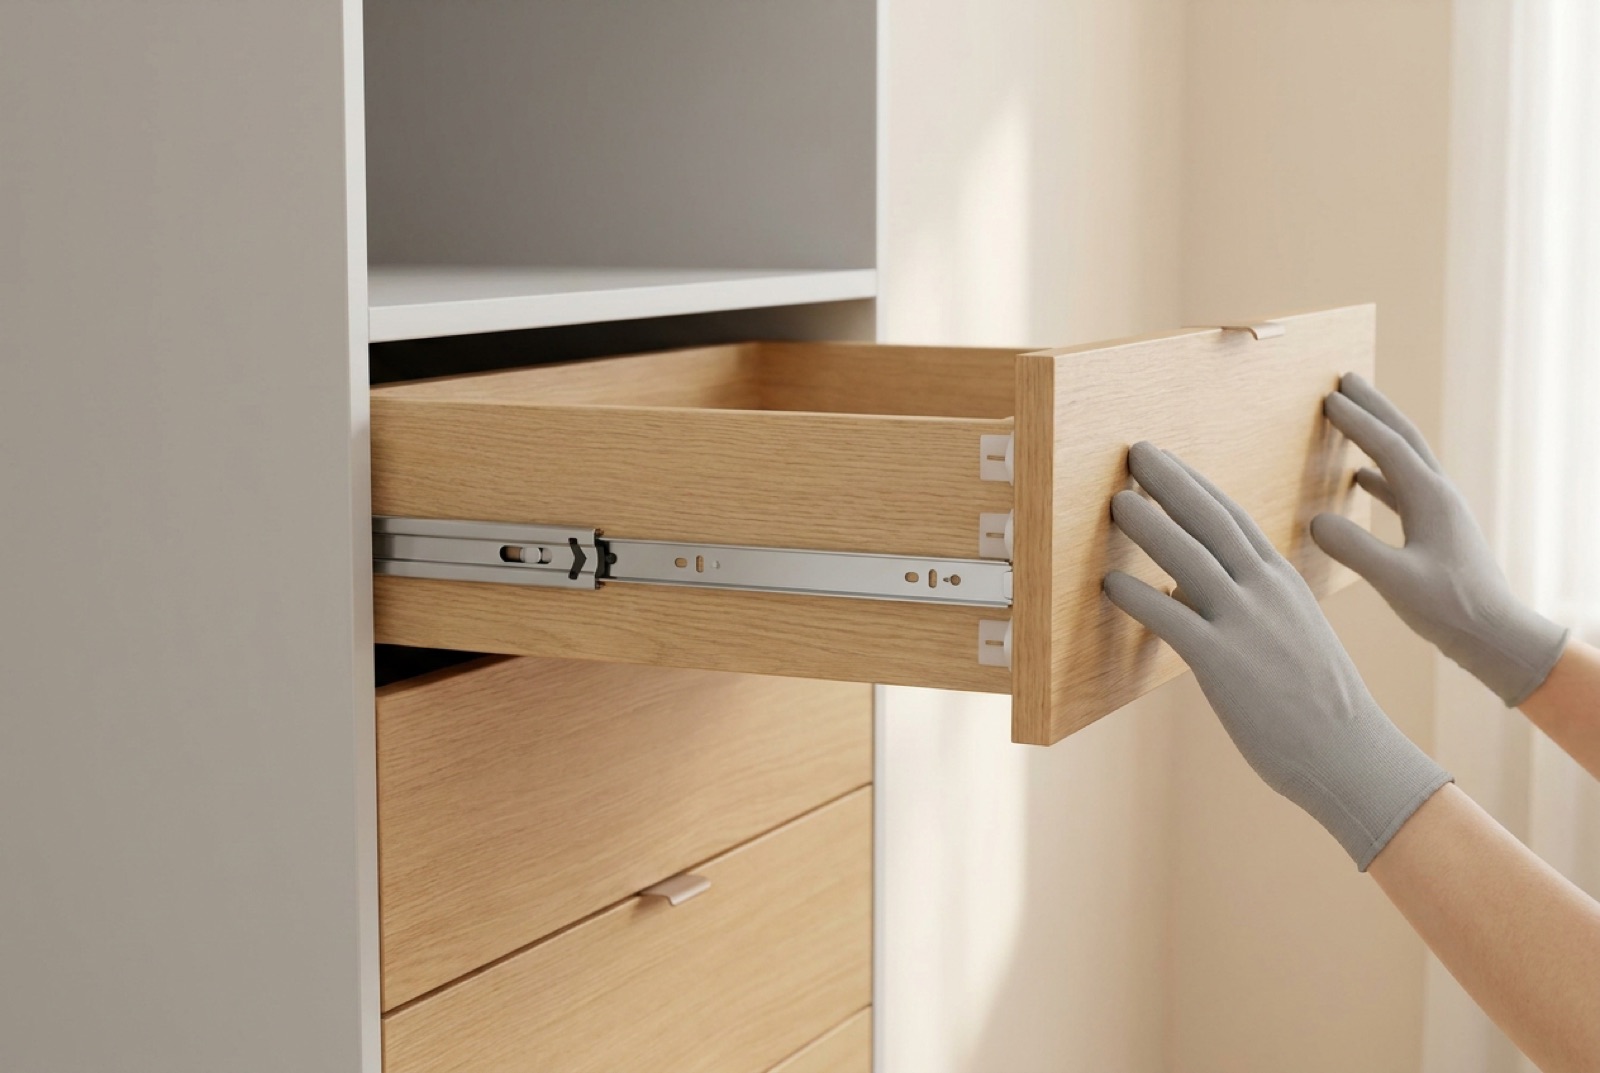
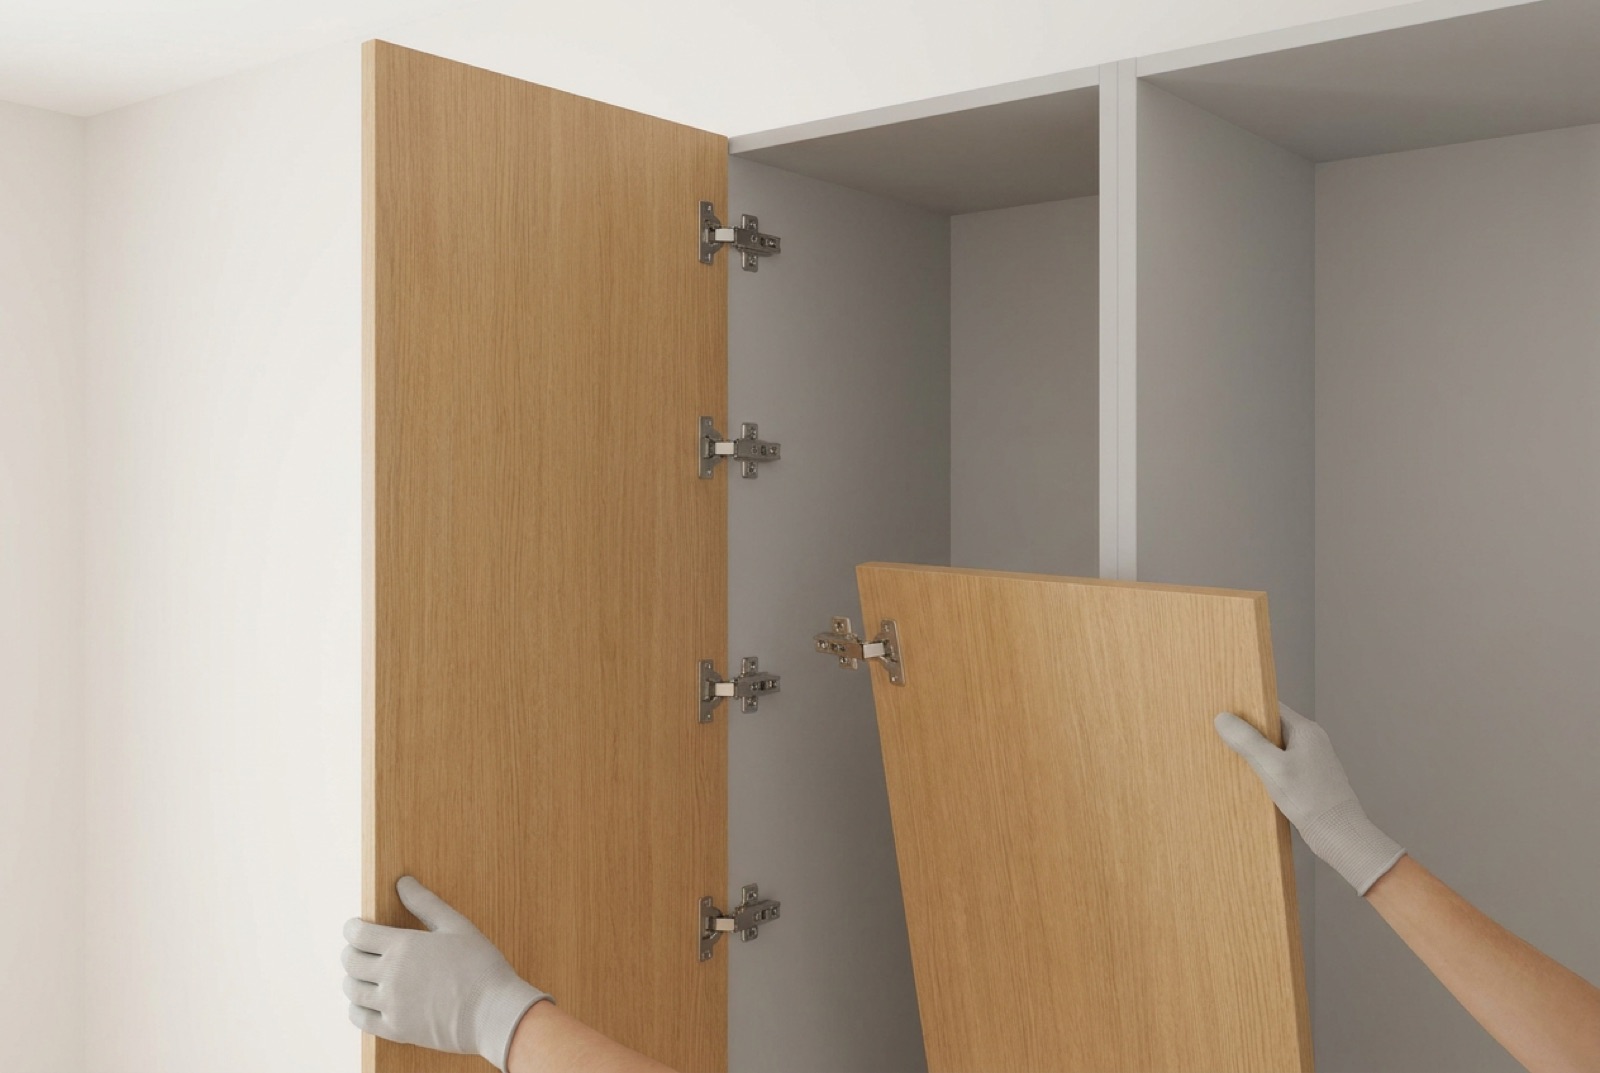
The niche is enclosed by just two planes — the partition behind the Buddha and the panel against the wall — so it opens both to the room and to the cushion. Carcasses are light-grey Egger melamine ("oak where you look, laminate where you store"); everything visible is real oak: veneered MDF panels and doors, solid oak altar, shelf and small doors, all finished with matte hardwax oil. No handles anywhere — every door is push-to-open.

3D model, room view
The 3D model the cut list is derived from.
3D model from the cushion
From the cushion: niche, altar, photo shelf.
Earlier render, front view
Material mood: oak veneer, open-pore matte.
Construction approach. Three independent boxes — A linen (905), B guest (452), C shrine (453) — standing on adjustable feet behind a common plinth, kitchen-cabinet style. Each box squares itself, carries into the room through a normal door, and installs one at a time.
3D files. View the model in 3D right here — orbit, zoom, click any panel to inspect it. Or download for any 3D app: wardrobe.obj + wardrobe.mtl (keep together; imports with materials and part names) · wardrobe.stl (fallback, single material). In SketchUp: File → Import, set units to millimetres.

Placing the orders

Four orders. Tick them off as they're placed — the page remembers.

Order 1 Carcass boards — A Minha Fábrica

aminhafabrica.pt · Egger melamine, light grey U708, cut to size + edge-banded · delivers nationwide

Order 2 Oak veneered MDF — Maderpa

maderpa.com (Badajoz/Cáceres) · 19 mm MDF, oak veneer both faces, A-grade show face · cut + oak edge-banding

Backup suppliers if Maderpa can't deliver: Deriva (deriva.pt), A. Martins (a-martins.pt), JULAR (Lisbon).

Order 3 Solid oak — Leroy Merlin

Glued oak stave panels + worktop section

Order 4 Stone + hardware

Local marmorista (Sardoal/Abrantes) · ferragens / Häfele / Leroy

The one hardware trap: push-to-open only works with unsprung hinges. Normal self-closing hinges will fight the latch and the doors won't pop open. Say "dobradiças sem mola, para sistema push" when ordering.

Tools

Cordless drill + driverplus 2.5/4/5 mm wood bits, confirmat bit
35 mm Forstner bithinge cups — drill press or steady hand + depth stop
Spirit level (60 cm+)and a straightedge
Corner clamps ×2 + bar clamps ×4carcass squaring, altar lamination
Router + straight bitonly for the 20 mm stone recess — borrowable
Jigsaw or track sawonly for scribe trims; all panels arrive cut
5 mm shelf-pin jigor a strip of pegboard as a template
Countersink, tape, squaresmasking tape, 2 & 3 mm spacers for reveals
No table saw needed — every panel arrives cut and edged by the suppliers. The only cutting on site is trimming scribe strips and the small doors if you adjust gaps.

The build, step by step

1

Verify the recess, then receive the boards

Before placing Order 1: check the recess width at floor, 1 m, and ceiling; ceiling height at both ends; confirm 1810 wide × 2400 high. Depth is unconstrained (confirmed). Small deviations are fine — the tolerance plan at the bottom of this page absorbs them; deviations over ~10 mm: adjust the order before it's cut.

When boards arrive, check every panel against the cut list before signing, and store flat, off the floor, in the room where they'll live for 48 h to acclimatise.

Exploded view of the three modules
2

Assemble modules A and B

Each box is two sides + top + bottom + overlay back, joined with confirmat screws (pre-drill with the stepped confirmat bit). Assemble lying flat on a blanket:

Assembling a carcass box
3

Stand, level, and fix A + B

Stand module A in the recess against the closed wall, then B beside it. Level with the feet: bottoms at 119 mm from the highest point of the floor, tops level — check level along and across, and between modules. Clamp A and B together, screw them to each other through the sides (4 screws), then fix the tops to the wall with L-brackets.

Drill one small test hole first to learn the wall: plasterboard → use hollow-wall anchors into studs where possible; masonry → 6 mm plugs. Buy plugs after this hole, not before.
Levelling modules in the recess
4

Drawers

Three wide drawers in module A. Each box: sides 500×140, front/back 803×140, bottom screwed under. Mount runner cabinet-halves level at heights that put the three false fronts at 138–314, 318–494, 498–674 (4 mm gaps). Fit boxes, then attach false fronts: drive two screws loosely from inside, align with 4 mm spacers, tighten, add the rest.

Fitting a drawer on runners
5

Module C — the shrine bay

Built in place, in order:

Assembling the oak shrine bay
6

The altar

If using a 38 mm worktop: cut to 600 × 453. If laminating: glue two 18 mm pieces face-to-face with PVA, clamp overnight with cauls, trim to size. Then:

Stone inset in the altar slab
7

Doors

Hinge cups: 35 mm Forstner holes in the doors, 22.5 mm from the hinge edge (centre), 13 mm deep. Big doors get 4 hinges at 200/800/1600/2250 from the door's bottom edge; small doors get 2 at 80/640. Mount plates inside the carcasses, hang, then adjust the three hinge screws until reveals read 2 mm at the top, ~15 mm shadow gap at the floor, 3 mm between doors. The doors run floor-to-ceiling — they overhang the carcass bottoms by ~104 mm and hide the plinth completely. Fit one push latch per door, centred on the opening edge.

The two small solid-oak doors hang at the cabinet's open end — one on the wall-side panel (C2), one on the fixed front (C6) — meeting in the middle, facing the cushion.

Hanging an oak door
8

Plinth, rail, shelves

9

Finish the oak

All oak — doors (all faces), niche panels, altar, shelf, small doors — gets two thin coats of matte hardwax oil. Sand lightly 240-grit, dust off, apply thin with a lint-free cloth, wipe off excess after 20 minutes, dry overnight, repeat. Thin coats are everything; thick coats stay sticky.

Oil-soaked rags can self-ignite — lay them flat outdoors to dry or soak in water before binning.
Oiling the oak
10

First light

Place the stone, the Buddha, the photographs. Light the candles — keep them on the stone, toward the niche's enclosed corner. Sit. You built this.

Cut list

All dimensions mm, length × width. F = front edge banded, (v) = visible edge, All = all four edges.

Table 1 — grey Egger 19 mm (A Minha Fábrica)

#PartSizeQtyEdging
A1Module A side2281 × 5722F
A2Module A top/bottom867 × 5722F
A3Shelf, adjustable863 × 5404F
A4Drawer side500 × 1406top
A5Drawer front/back803 × 1406top
A6Drawer false front863 × 1763All
B1Module B side2281 × 5722F
B2Module B top/bottom414 × 5722F
B3Fixed shelf (rail)414 × 5601F
B4Shelf, adjustable414 × 5402F
P1Plinth face1810 × 1151top
P2Plinth rails600 × 1154
P3Scribe strip (spare)1810 × 401F

Table 1b — grey 8 mm

#PartSizeQty
A7Module A back (overlay)2281 × 9051
B5Module B back (overlay)2281 × 4521
A8Drawer bottom803 × 4923

Table 2 — oak veneered MDF 19 mm, both faces (Maderpa)

#PartSizeQtyOak edging
D1Big door, floor-to-ceiling2383 × 4493All
C1Shrine left wall2281 × 6001F + end (v)
C2Shrine wall-side panel2281 × 4341end (v)
C3Shrine ceiling600 × 4341F + end (v)
C5Cabinet bottom562 × 4341end (v)
C6Cabinet fixed front, to floor847 × 4491All

Table 3 — solid oak

#PartSizeQtyFrom
C7Altar slab600 × 453 × 381oak worktop (or 2 × 18 laminated)
C9Small cabinet door, to floor845 × 277 × 182stave panel 2000×500
C8Photo shelf420 × 140 × 381altar worktop offcut

Key dimensions & tolerance plan

Critical heights (from floor)

  • Plinth top / module bottoms — 119
  • Drawer fronts — 138–314 / 318–494 / 498–674
  • Altar slab top — 900 (slab 862–900)
  • Guest rail centre — ~1840, under fixed shelf at 1900
  • Photo shelf top — 1950
  • Module tops — 2400 (at ceiling)

If the recess differs from plan

  • Ceiling lower than 2400: shorten the plinth (feet adjust ±15 mm; below that, trim plinth face)
  • Ceiling higher than 2412: grey scribe strip P3 on top
  • Recess narrower than 1810: scribe module A's wall side
  • Recess wider: shift everything toward the closed wall — slack disappears at the shrine's open end invisibly
Niche as built: 434 wide × 562 deep × 1462 high, open to the front and the cushion side. Candles always on the stone, toward the enclosed corner.